My persimmon driver experiments have not been great.
The few that I have purchased have had about 8* loft.
Between my lowish swingspeed and today’s low spin balls, I do not hit these well.
So, I decided to take the advice of fellow posters and try a 2-wood.
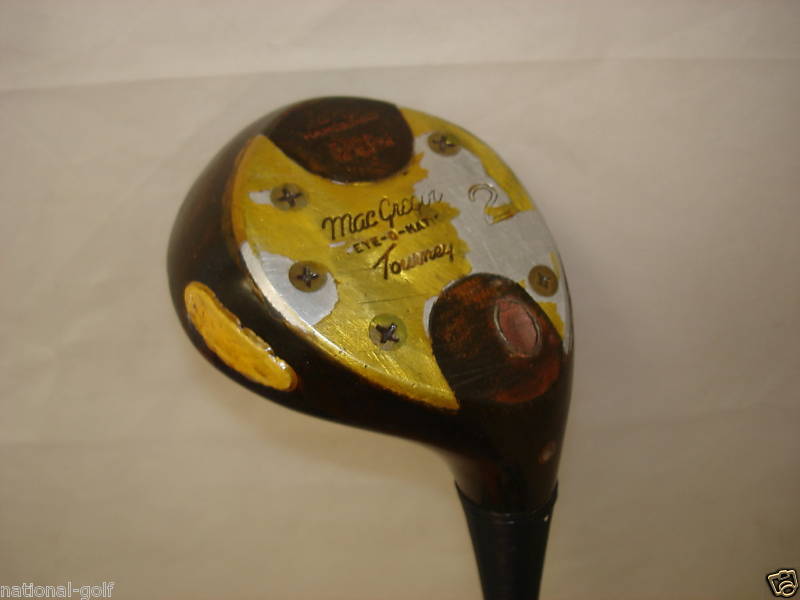
Get a look at this specimen:
So, how to remove this obviously old and yellowed lacquer?
Is abrasion the best? Sandpaper?
Is some chemical the best? Acetone?
I’d go with a very fine grit paper… 400A to 600A. It should easily get rid of the old lacquer and will brighten up the metal plate. You can then spray some clear lacquer over it.
Are you thinking about taking off the sole plate? If so, that’s the best way for me to clean it. Do you have plans to add some lead in the head? It’s not too hard to do once you get used to it.
Glad you got one!
If for some strange reason you still don’t have enough height/Hp, you obviously can add some length to the shaft to make it closer to a driver’s length…
Why don’t you just shave the face down on your driver, and bring it up to like 10-12*? You can do this with a file.
And the best way to remove that laquer would be with a chemical stripper (Zip-Strip brand works well). Then finish with the sand paper.
If you plan to delve into re-finishing and modifying golf clubs, I would strongly suggest getting a book or two to read up on the subject at hand. It will go a long way in sparring you much frustration and will insure much better results. Here are the two books I would recommend.(I have both and they are very informative and helpful)
Golf Clubmaking and Repair by: Carl Paul (you can get this one for $1.41+$3.99 S&H)
Golf Club Design, Fitting, Alteration, and Repair by: Ralph Maltby ($14.78+$3.99 S&H–so definately more pricey but it is more thorough, more and better pics, and also has a lot more info. I would definately recommend this as your first purchase)
I normally try out a club as I find it before I start with making changes.
You just never know when a club is gonna have that magic.
But, yes, I do plan to add weight if it is too light.
But, I have been pleasantly surprised with the weight of older MacGregor equipment.
I recently bought an older set of Mac irons, they were heavier than Lag’s spec without adding weight.
JN,
I have been building irons, putters and metal-head drivers for about a decade.
The wooden clubs are new to me.
I thought about changing the loft on a driver, but was a little confused about the insert.
Do I remove the insert, file the wood behind, replace the insert, and then file the face to match the insert?
Or, do I file the insert and face together, in place, and re-groove?
The presence of screws is the fly in the ointment.
I see the advantage of shaping the insert and the rest of the face at the same time… but how to deal with the screws??
Which of your two book suggestions has more information about wooden clubs?
The best book to get would be the one by Ralph Maltby.
Tools you’ll need–Club face radius guage, fixed loft guage and/or machinist’s protractor, medium and/or coarse cut file (depending on how much material is to be removed), and a frearson tip screwdriver or bit (this is very important! if you use a regular phillips bit you will strip the heck out of the screws.) If you don’t have one and need help locating one let me know.
Your going to want to shave the face down with the insert in it. Your going to want to remove the screws first. Then shave the material from the face, concentrating your filing from the middle of the face to the top of the face (make your file strokes vertically-or from crown to sole, while working horizontally across the face (from heel to toe). Keep checking the bulge, roll, and loft as you file.
When you’re done with the filing, re-cut the scoring lines if necessary. Re-install the screws (you may need to re-countersink the screw holes). When you do this however, be sure not to go too deep so that the screw head is recessed. You want the head to finish flush. To achieve this go a bit less deep than necessary, so that the screw head sits raised just a tiny bit above flush with the head. Then file raised portion of the screw head down so it then sits flush.
Then you can lightly sand the face with fine sand paper and lightly scrape with a detailing knife. Then re-check the specs to ensure they haven’t changed.