The Spining theory is that the shaft will be stiffer when flexed against or into the spine… and to get your shafts all consistent through the set… they should be spined…
However… the stiffer your shafts… the less this is an issue…
Second… unless you are doing all the clubs in your bag… what is the point?
Third… you would really need to be a tremendous ball striker for this to make any difference on your scorecard…
This is really splitting hairs…
get to where you are averaging 17 greens a round… then spining might help you hit that final green… maybe…
Hey lag~
Nice article; thanks forposting… I have several refinishing projects in the works at the moment… I think I will giv ethis a shot.
One thing I wanted to mention… With a bore through shaft, it is not necessary to cut the shaft off in order to insert the heated rod into the shaft and break the epoxy bond…
What I do is drill out the wooden plug in the bore through and insert the rod throug the heel.
As for the pin, when you do this you end up drilling through the pin… most times the head of the pin will pop out of the neck, and you can pull it out without having to remove all the wood. When it doesnt come out, use a small nail punch to push the head of the pin into the shaft, and it should fall out. If it doesnt, you can drill through the heel again to remove the remaining piece.
I have removed at least 100 pinned bore through persimmons with this method, and am successful in removing the shaft with no loss of wood at least 90% of the time.
One thing… If I am starting to remove a shaft in an old club such as a Mac, If the club isnt whipped prior to this I generally whip it nice and tight before I start to pull the shaft. alot of times there are hairline cracks in the neck that will widen when pulling the shaft.
Take care!
John
those are good suggestions… thanks…
Always looking for an easier and better way…
I did the wood removal to show that even a worst case situation, where you simply can’t get the pin out… you can remove wood and get to it without it being the end of the world…
I have had some really stubborn pins… and drilling them out from the bottom is great, and a great way to do it… sometimes the epoxies can really be stubborn also, and firing them from both sides with the heat rod can really help.
You are right on when you say that sometimes those pins can be tricky to get out!!! (It can be pretty nerver wracking too when the neck has those hairline cracks…
Your work looks great though!
Looking forward to seeing some more of your stuff!
-John
Arnie, I doubt I will get to give it a smack any time soon, minus 7 here with 8 inches of snow.
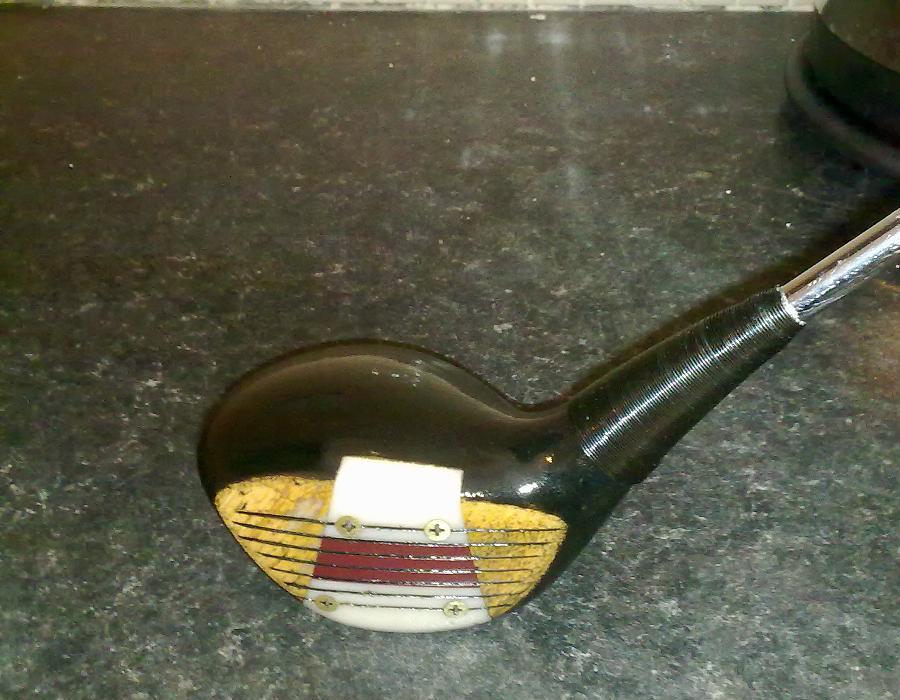
Robbo, I was quite chuffed with the face rebuild, just used some of the gloop left over from filling the hole, then it was a just case of sanding and a Junior Hacksaw blade to reform the grooves.
Lag, I think I got it pretty close to 46 degrees. It’s SW E2 with a 44 inch shaft.
I hate to sound trite, but it looks bloddy flat!! When I went 7 flat with my irons, they looked fine and I took to them straight away. But this?? I reckon I will need a wide stance and a lot of knee bend to get down to hit this thing. Can’t see many going left.
Managed to recycle the whipping also. Not the easiest thing to get your hands on. I tried googling it but found something quite different.
Now you will start to understand how you can apply your vertical ground pressures and you will love the feeling of how easy it is to get the golf club working around your body with equipment that encourages you to do so.
You can release it really hard now without left being much of an issue. You’ll get the sensation of how you can then really go at with aggression, and this will give you insight into why many of the greats played off flatter lie angles… the feelings and sensation will now be possible to experience. If you gear is not set up this way… you simply can’t gain those insights as a personal physical experience…
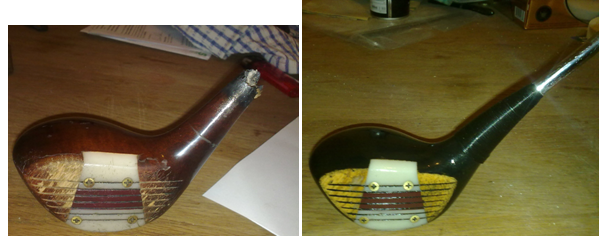
Titleist Tour Model circa Christmas 1984 (one of the set from my Brothers Big present) sorry Z, if you’re watching.
Managed to remove the whipping for re-use, removed the pin and shaft and fill the hole in about 45 mins. Used the sawdust from making my Lagboard to fill the hole.
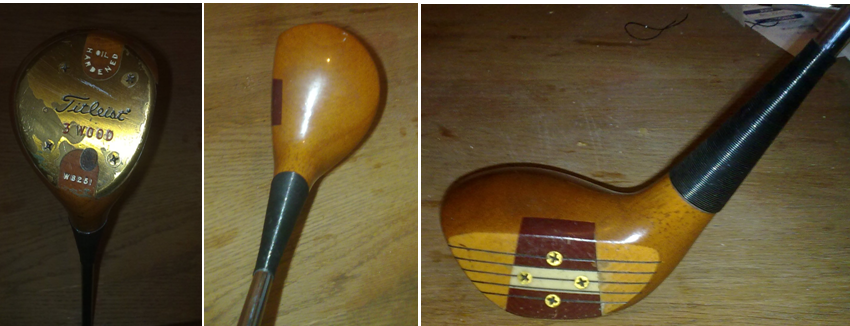
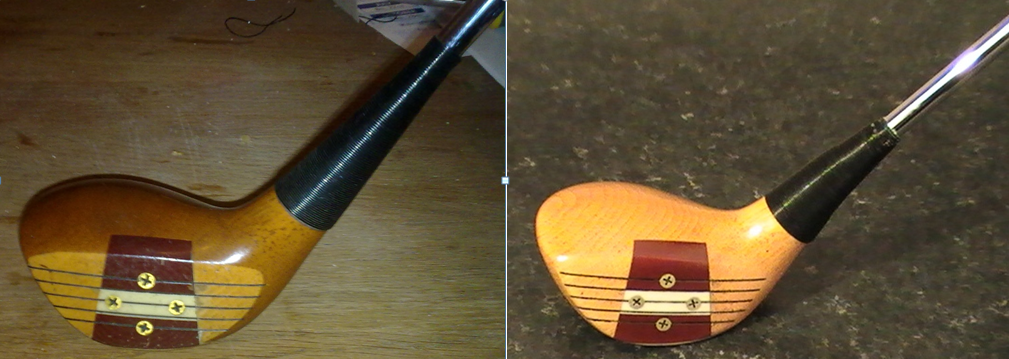
Finished my 3 wood today, think it’s 50 degrees, was aiming for 48, but its a bit harder to be sure when there is more loft involved. Only took about 8 hours to complete this one.
Lag/NRG/Anyone
How do you guys deal with the final layer of clear coat. I have put like 5 coats (from the auto pack) but there is always a blemish and when I sand it again the luster is gone.
What kind of blemish are you referring to… a drip? I use a “0000” sanding pad between the finish coats. You don’t have to rub with much pressure to get enough “bite” between coats. If you’re getting drips then you probably need to hit it with a lighter coat.
Then again I’m not going for a super high gloss finish on mine so I haven’t had too many issues with the last coat.
Thanks Rob
But do you use the sand paper after the last coat?
and yes basically a large drip; I use the larger SUV pack clear coat and its hard to get it to a very fine mist.
How to Flatten a Persimmon Driver
For the brave ones!
Post a reply
61 posts • Page 7 of 7 • 1 … 3, 4, 5, 6, 7
* Edit post
* Delete post
* Report this post
* Warn user
* Information
* Reply with quote
Re: How to Flatten a Persimmon Driver
Postby NRG » Fri Feb 26, 2010 8:58 pm
Can anyone offer any advice on a suitable lacquer finsh?? The one that i have used has already started breaking down after just a few rounds.
Are there any specific words that i should look out for on the tin??
I have 6 Persimmons in various stages of being flattened and i don’t want to be sanding and refinishing every 5 minutes if at all possible, want to get i right first time.
I have found that a Wood Dye is the best product to colour the wood, it dries nice and evenly and quickly, with no streaks or brush marks or a sticky sufrace which i found with some wood stains i tried.