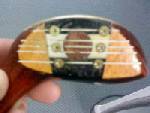
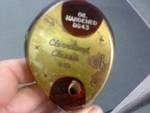
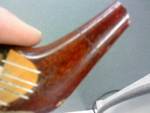
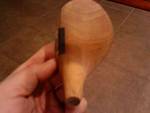
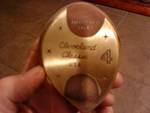
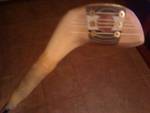
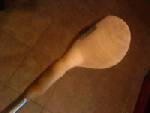
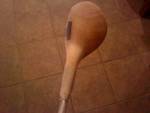
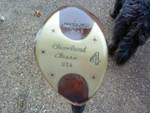
I’ve been anxious to modify a fairway wood and dump the hybrids I’m carrying that look way too upright to me anymore. This is an old Cleveland Classic I had which I flattened 5 degrees with Lag’s process. Re-used the S400 that was already in it. Here are some of the “before” and “in-process” pics:
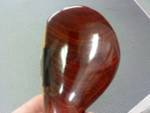
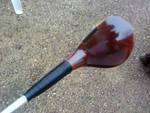
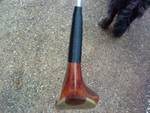
Thank you CD. The stain is a Minwax “Bombay Mahogany” color… very close to the original color of that 4-wood. I don’t work much with woodstain and I find it a little tricky as it has such a thin, watery consistency. It tends to get on everything and drips easily. I tried brushing it on, but applying it with a cloth or towel might be better.
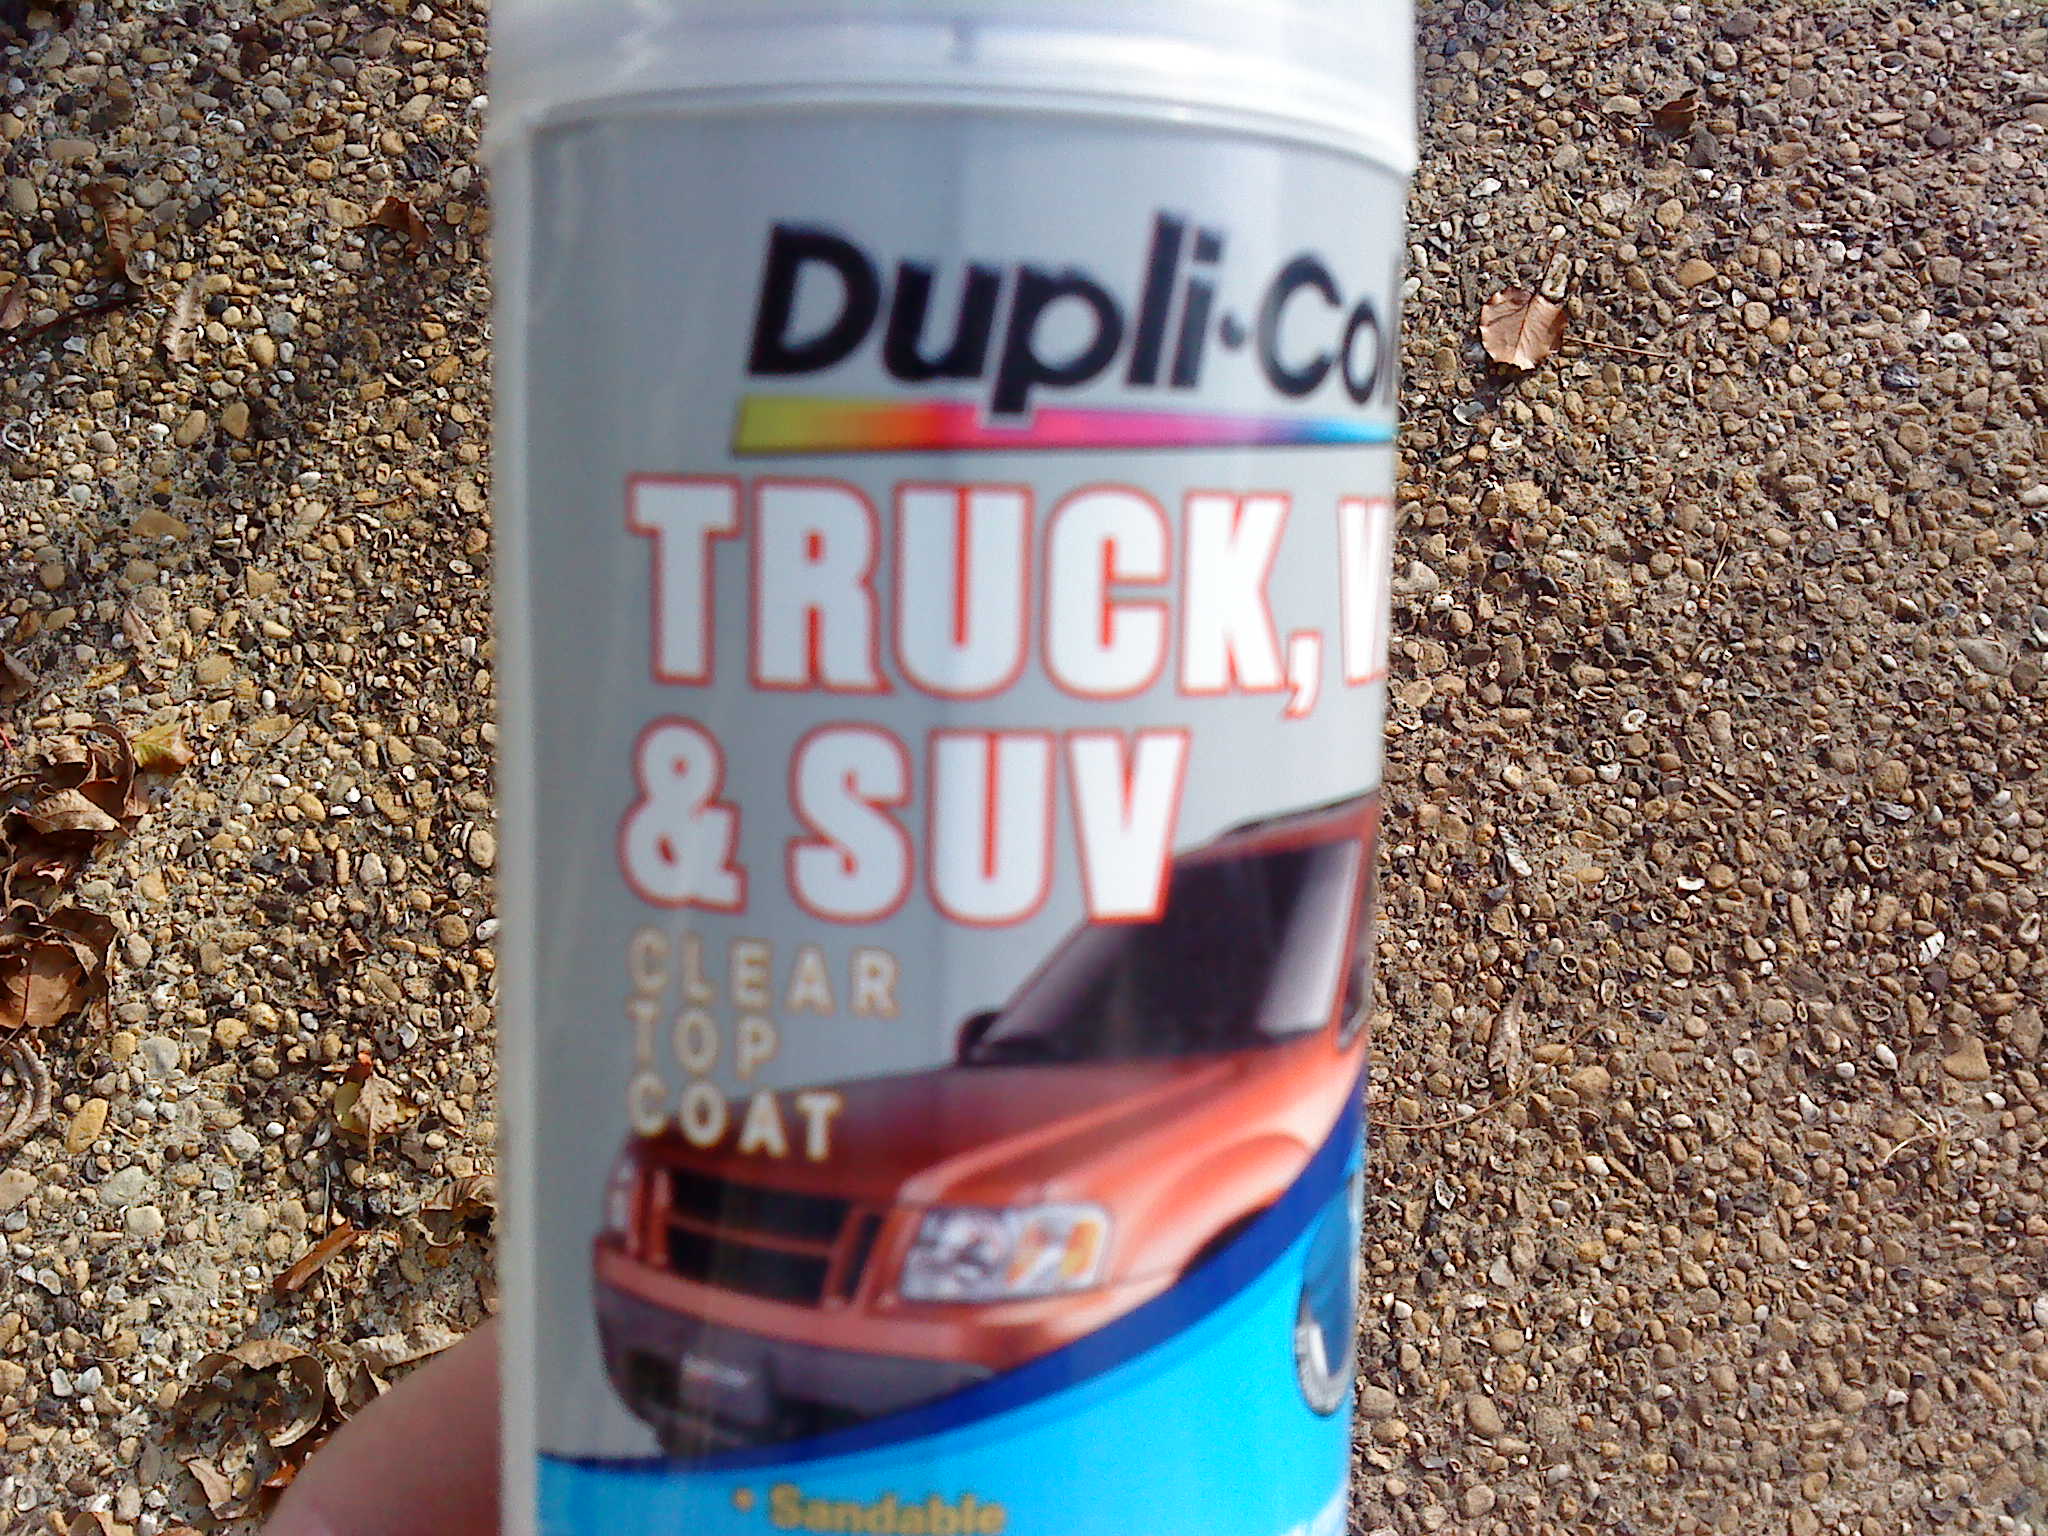
I used about 5 coats of this made by “Dupli Coat”.
I got a chance to hit a few balls last night with it and with the Penna. I waited about 36 hours from when I applied the last coat but I noticed that each ball hit leaves a bit of an “impression” in the finish on the face. Have you noticed a similar effect? Is there a “harder” finish out there?
Loved the way these flattened babies performed though!
You can put a quick set clear epoxy on the face if you want… same stuff out of the tubes… just paint it on with a small brush…
should do a great job firming up the face.
In this case the shaft was a bore-thru so I just drilled thru the bottom of the shaft (thru the wood plug) and thru the pin. I then inserted the “hot rod” from the bottom of the head about the length of the wood hosel and managed to break the adhesive bond and twist the head off.
The pin is tricky and even if it “pops out” once you drill thru it there is probably still some of it in the shaft toward the middle of the head. You probably still need to punch that part thru the opposite side so it clears the internal side of the shaft. Or you can use Lag’s approach of removing a wedge of wood to get some grip on that pin.
I drilled a MacGregor persimmon driver yesterday and found a hollow chamber like a cave inside that would give zero support to the shaft tip and increase breakage risk if I did not fill the cave with epoxy.
This brings up a question. What is the texture of the Golfsmith 2-part epoxy after mixing? I have used JB Weld and it cures hard as a rock but is really thick after mixing and is not real good for pouring into narrow passages and may be trapping large bubbles which I would like to avoid. If the Golfsmith epoxy is more fluid, it might work better than the thick JB Weld. If you have worked with JB Weld you might know if the Golfsmith pours thinner. Hoping to let trapped air rise out through a narrow passage, say over a distance of as much as four inches deep.
Also, if I run into the “hidden cave” scenario in the future, I am considering pouring sections in stages where there is a lot of volume to fill. Do you know if newly mixed epoxy bonds great to freshly cured epoxy or if after the most recent epoxy section cures, will there will be a weak fault where the two sections, old and new, meet?
Their 18-24 hour cure stuff has a viscosity similar to “thick honey”. I can tell you that when I use it to fill in the hollowed out area of the hosel after removing the shaft it seems to allow any air that gets trapped to escape via bubbles that slowly rise to the top. I think the “work time” on it is well over 30 minutes which I think makes it easier to work with.
I just don’t know how readily available it is anymore. Seems like everyone has gone to quicker curing stuff. This batch has been around for a while, so I don’t know just what they’re selling these days.